From napkin sketch to game ready in 10 minutes
A hands on walkthrough of the sketch to 3D workflow, from the first stroke to an optimized prefab in Unity.
 Dimensa teamProduct and research
Some ideas are easier to draw than to describe. "A lantern, but the handle curls like a fern" is a mouthful. Three strokes on a canvas say it instantly. That is what sketch to 3D is for. In this guide we will take a quick drawing all the way to a game ready asset.
Step 1: Sketch the silhouette (2 minutes)
Open a new project and choose Sketch. You will see front and side view guides. Focus on the outline, not the details. Prism-2 is excellent at inferring volume from a clear silhouette and much less excited about shading.
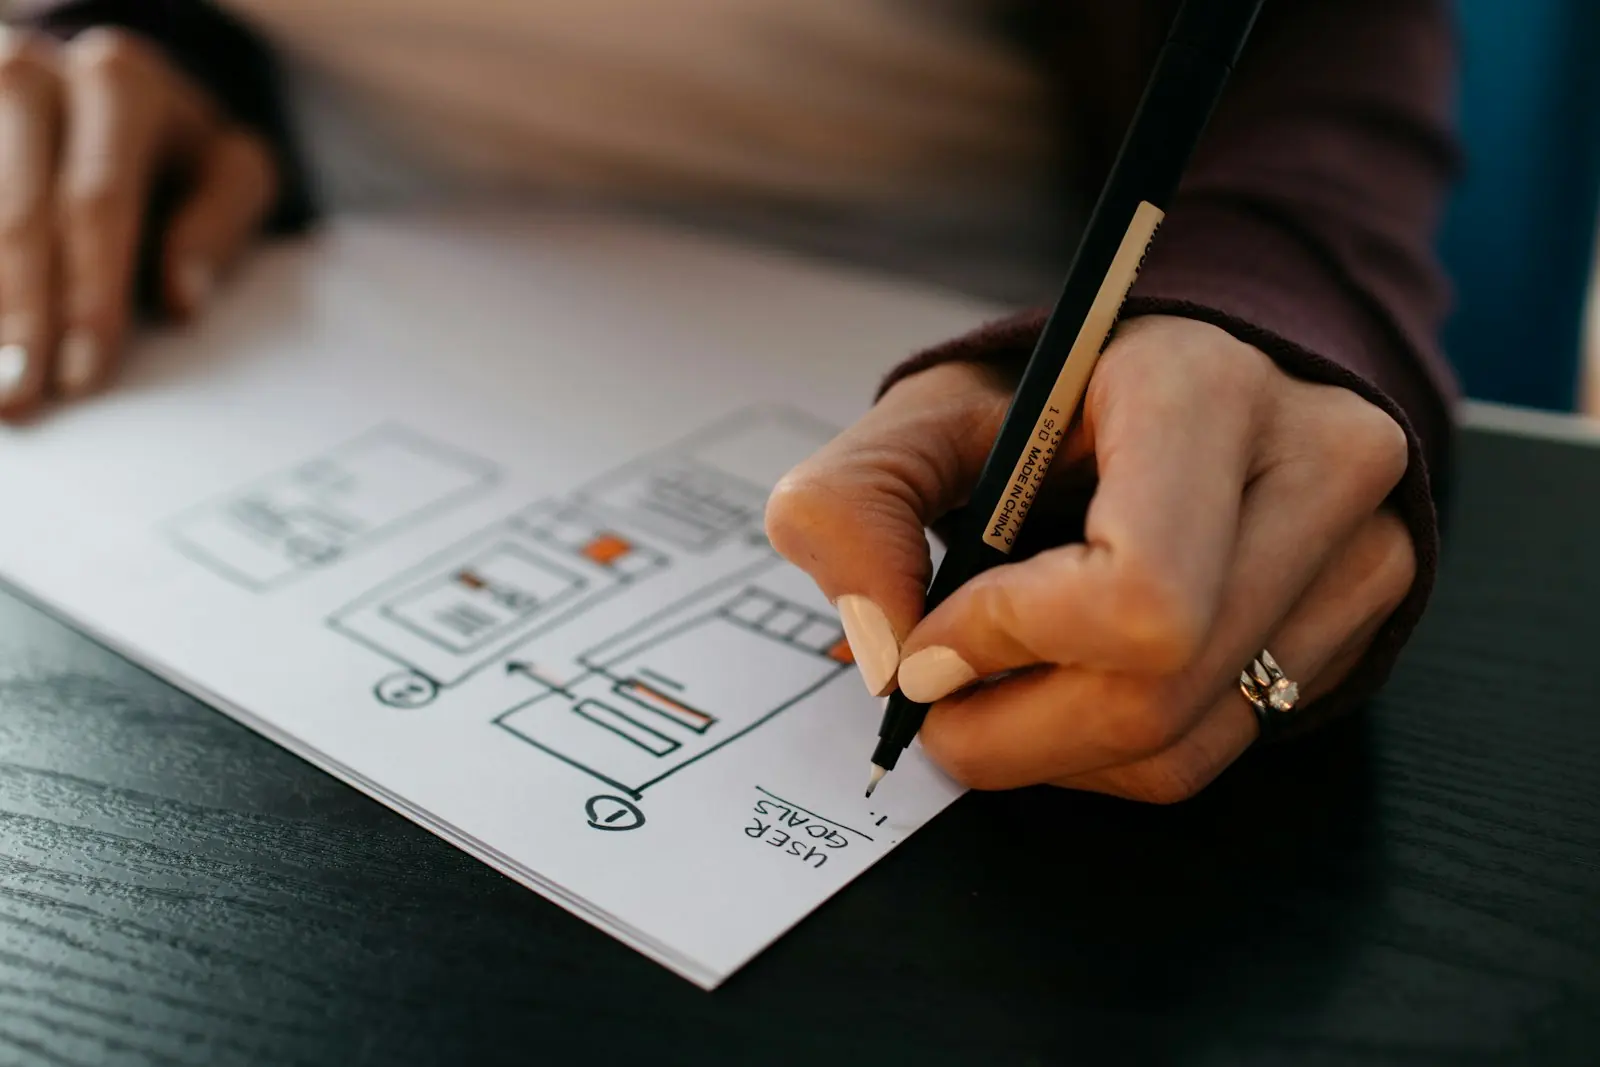
Drawing a quick side view, even a rough one, roughly doubles how faithful the depth of the final model is.
Step 2: Add a short prompt (30 seconds)
The sketch handles shape. The prompt handles everything else. Keep it focused on material and style:
Hand forged iron lantern, fern shaped handle, warm amber glass, stylized PBR
Set the poly budget to 6,000 triangles and the target to Unity. This sets the correct axis, scale and material conventions on export.
Step 3: Generate and pick (1 minute)
Hit generate. In under a minute you get four candidates. Orbit them, compare silhouettes against your sketch, and pick the closest. If the handle is right but the glass is wrong, use Regenerate part on just the glass.
Step 4: Refine the material (2 minutes)
Open the Texture panel. Try a few variations of the glass, for example "smoked green glass with bubbles". Each variant shares the same mesh and UVs, so you can keep several and switch between them later.
Step 5: Optimize (1 minute)
Run Retopology with "Generate LODs" ticked. Dimensa produces LOD0 to LOD3 and bakes a normal map from the high detail version so the low poly still looks crisp.
Step 6: Send to Unity (1 minute)
With the Unity package installed, click Send to engine. The asset appears in your project as a prefab with an LOD Group and URP or HDRP materials already set up. Drop it in the scene and you are done.
Where to go next
- Learn what makes a mesh production ready in Why topology still matters.
- Browse example assets in the showcase.
- Not in the beta yet? Join the waitlist to get founding member pricing.